6. Issuing Dues as a Lodge Treasurer
Login to your portal using your supplied credentials at https://masonsview.com.au/ .
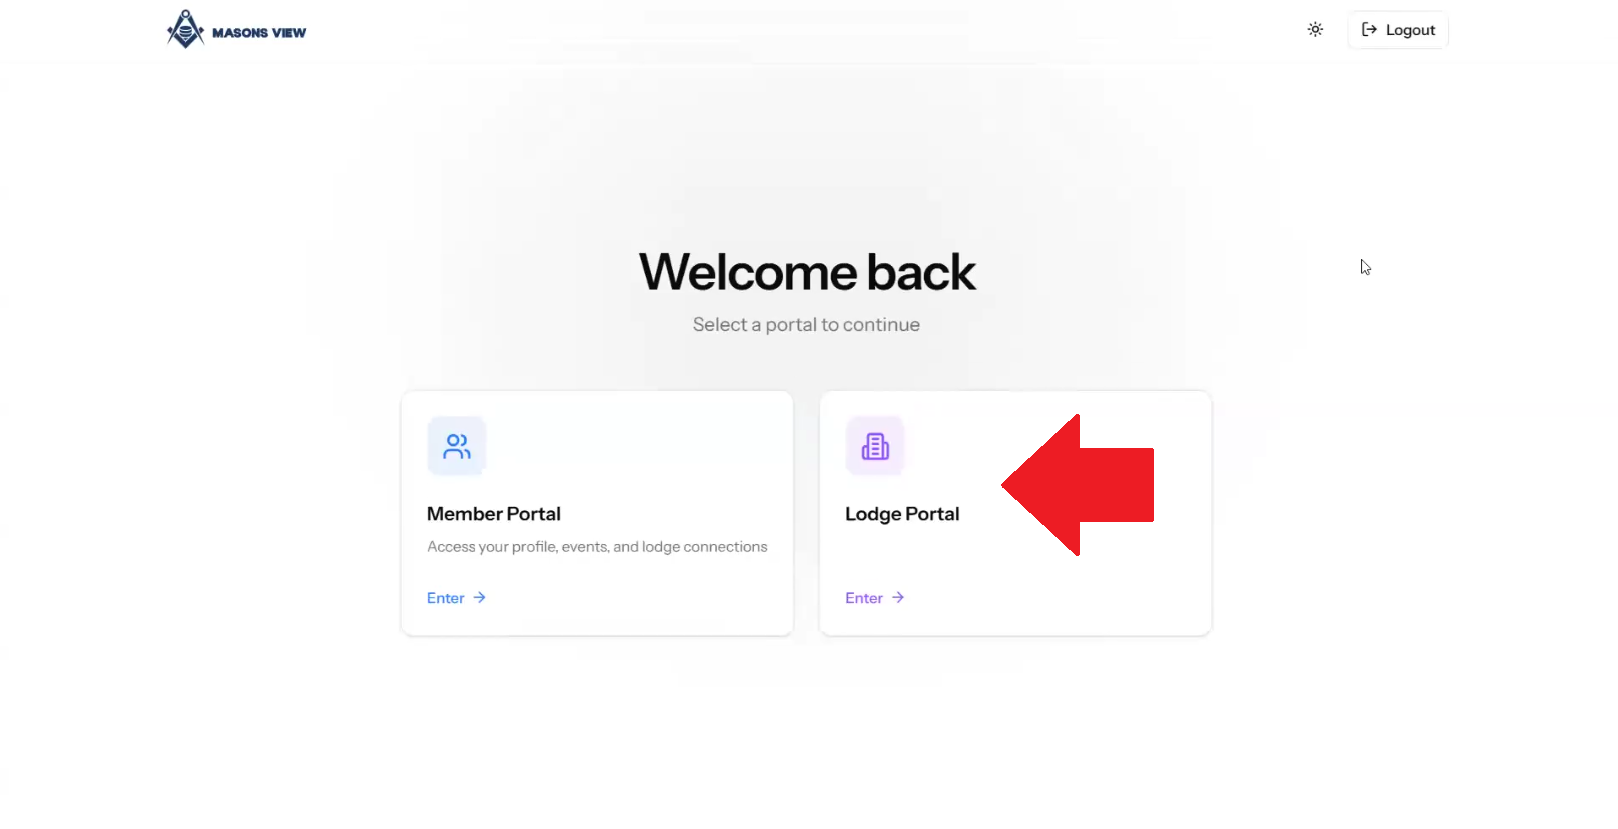
Select the LODGE portal as per the below screenshot.
Search for your lodge using the search bar or select your lodge using the buttons on screen.

From the main menu, select the DUES menu time on the left hand side under the ACCOUNTING menu. From the DUES menu you can select the relevant dues period, or create dues for a NEW PERIOD. For further information on creating a dues period, please refer to this guide.

Once the applicable due period has been loaded on screen you can see if there are any warnings about members in the selected period.

Click on the VIEW ISSUES button to see what those issues maybe that are preventing the issuance of dues for member/s in the selected period.

Once the issue has been identified, it will need to be flagged with Grand Lodge so the admin team can make the required changes. This can be actioned via emailing reception@masonicservices.com.au specifying the required changes. When Grand Lodge has successfully amended the data you will be notified. Please note, this will not prohibit you from issuing dues to other members in your lodge, and you can always revert and issue dues as a one off once the data issues are resolved.
When the issues are cleared, the dues period will show error free.

Scrolling down the DUES MANAGEMENT screen will show a list of active members in the current dues period, along with their DUES CLASS. If you need to amend a member's DUE CLASS you will need to contact Grand Lodge in order for administration to make this change. Once the change has been made, as per the above comments, you will once again be notified.

Once you're ready to issue dues for the current period, click on the GENERATE DUES button that is part of the workflow process. This will take you to the GENERATE DUES screen. Here a list of members will show. You can use the tick all box (at the top of the member list) to select all members to generate dues, manually tick one by one, or untick members you don't wish to issue dues to.
Once the appropriate members have been selected for dues issuance, click on the ACTIONS button on the right hand side of the list, and select CREATE DUES.

Selecting CREATE DUES will trigger a pop-up which shows a list of members and whether you wish to proceed as is, remove members from the dues, or manually scroll one by one by using the arrow buttons at the top left of screen to see your dues for the selected period.

If you wish to exclude a member, perhaps they are in the wrong dues class, you can click the DISCARD button on their record to remove them. Clicking GENERATE DUES (bottom right of the pop-up) will generate dues for the selected members.
A fresh pop-up will generate to prompt on whether you wish to CREATE INVOICES or skip for now. Skipping will put the invoices in the DRAFT INVOICES step in the process.

The process bar will update, showing the number of draft invoices we have, as well as any outstanding we have yet to issue dues for. We can toggle each step by simply clicking on the relevant button in the process.

Once we are happy with ISSUING INVOICES from our DRAFT INVOICES, load the DRAFT INVOICES step, select the members using the same logic as before (select all box or individually tick members), click the ACTIONS button and select CREATE INVOICES.

The same logic for DRAFT INVOICES applies here in-so-far that you can manually remove members from having invoices issued if needed by discarding their invoice.

When CREATE INVOICES is selected a pop-up will show options you have. You can SEND EMAILS to immediately send your dues invoices to your selected members. You can SKIP FOR NOW to allow for issuing the dues via email at a later date, or you can use the drop down to SCHEDULE FOR LATER to select a later day and time, potentially if you are processing after hours.

Payments
Where a member may choose to pay via cash in person, you can manually record an invoice as paid.
To do this, select the INVOICES sub-menu item, of the ACCOUNTING menu on the left hand side to display a list of invoices. You can use the search bar, to search for a particular member, or utilise the invoice status buttons to display invoices that show under a particular status, eg PAID, ISSUED, UNPAID, PARTIAL and so on.
Click on the appropriate line item to load the invoice.

When the invoice loads you can select RECORD PAYMENT to record payment against the invoice.

A pop-up will show on screen allowing you to amend the amount (for cases of part payment), set the payment date, use the drop down to select a payment method and optionally record a receipt number, and/or notes against the invoice. Finalise the payment by selecting RECORD PAYMENT.

The invoice will be updated, reflecting the payment amount entered, and if paid in full show as such.

If you select the INVOICES sub-menu item and select the PAID status, the invoice will now show there.

Voiding
Where an invoice has been erroneously issued, it can be voided.
To do this, select the INVOICES sub-menu item, of the ACCOUNTING menu on the left hand side to display a list of invoices. You can use the search bar, to search for a particular member, or utilise the invoice status buttons to display invoices that show under a particular status, eg PAID, ISSUED, UNPAID, PARTIAL and so on.
Click on the appropriate line item to load the invoice.
Select VOID INVOICE on the top right of screen. This will trigger a pop-up on screen to enter a reason why the invoice is being voided, and finalised by clicking the red VOID INVOICE button.

This will then show the invoice as voided, the date voided, and any notes added.

Was this article helpful?
That’s Great!
Thank you for your feedback
Sorry! We couldn't be helpful
Thank you for your feedback
Feedback sent
We appreciate your effort and will try to fix the article